Metal Detection Guide
Treasure Hunting with a Metal Detector:
OKM 3D Ground Scan Step by Step
How to turn your search into a well-planned project with real results.
The difference between a day of fruitless digging and a targeted find is rarely down to luck – it comes from a well-prepared search. From researching your target object and search area, to choosing the right detector, to handling the device correctly while locating: these 5 tips for treasure hunting with an OKM metal detector will lead you systematically to your find.
What sets OKM detectors apart is 3D Ground Scan technology. A pre-marked measurement field is scanned systematically using magnetic field sensors. The 3D visualization then makes it easy to evaluate the measurement data and plan a targeted excavation. Once you master the technique, you decide before breaking ground which signals are truly worth digging for – and, depending on the model, the 3D ground scanner lets you reach finds at depths of up to 25 meters.

Step #1: Research & Choosing the Right Detector
To make sure your search succeeds and you don’t overlook the object you’re looking for, four questions should be answered in advance:
- Where is your object suspected to be – are there historical clues, old maps or known find zones in the region? Define the area or divide it systematically into sections that you can search one by one.
- What is the ground like on site – clay, sand, mineralized? This determines not only how deep the sensors can penetrate the soil, but also which tools you’ll need for the excavation.
- At what depth is the target object suspected to lie?
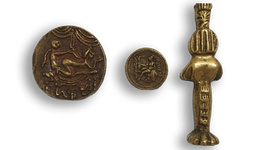
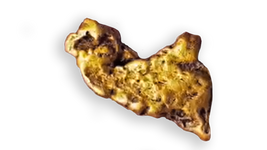
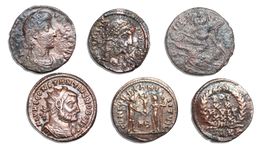
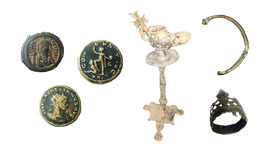
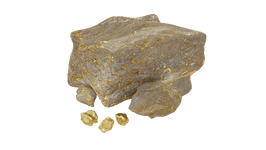
- What material is the object you’re looking for made of?
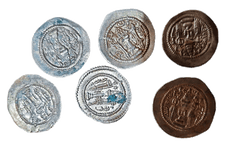
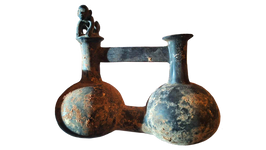
When answering these four questions, keep one thing in mind: often it’s not the hoped-for find itself that is detected first, but the container or packaging that produces a signal. A gold ring in an iron chest, for example, is first located via the chest, not via the gold itself. If you plan your search solely around the find you’re hoping for, you risk overlooking the actual signal – and leaving the treasure right beneath your feet without ever noticing.
The suspected depth and soil conditions also determine which metal detector is best suited to your search. Put simply, 3D ground scanners with EMSR technology make the strength of a magnetic anomaly in the subsurface visible, providing clues about the position, depth and size of the detected object. Bear in mind: depending on whether the soil is clay, sand or mineral-rich, measurement results can vary. If you know these properties in advance, you can interpret the measurement data correctly and get a clearer picture of the subsurface. And the technology detects more than ferrous objects – cavities such as cellars, bunkers and burial chambers, as well as hoards, also show up as anomalies in the scan.

Not sure which device suits your project? With the OKM Detector Finder, you answer a few short questions about your search and receive a tailored device recommendation – in just a few minutes, no prior knowledge required.
Step #2: Preparing the Search Field and Removing Interference
A clean result starts with the right preparation of your search area. First, clearly mark out your search field – for example with marker stakes at the four corners – and record its dimensions. The more accurately the area is measured, the more precisely the position and depth of a find can be determined later. For even greater accuracy, it’s worth stretching lines across the field to clearly mark the scan lines.
Then walk over the area once and remove anything that could interfere with scanning: tall grass, branches, larger stones. For the finishing touch, magnetometer mode has proven its worth – it indicates ferrous objects near the surface, such as scrap or nails, so you can remove them beforehand. The result: the actual 3D ground scan delivers a much clearer picture without distracting secondary signals, giving you a view down to depths of up to 25 meters.
Step #3: The Scan – Speed, Distance and Guidance
Once the area is prepared, three simple rules during the actual scan determine the quality of your results.

DISTANCE: Keep the probe steady throughout the entire measurement, at a constant distance of 5 to 10 cm (2–4 in) from the ground. Larger deviations during the scan can shift the readings and make the resulting image inaccurate.

SPEED: An even pace is just as important. If one scan line is walked faster than another, a detected anomaly can be pulled apart in the data visualization and, in the worst case, overlooked. Tip: Use the detector’s recording beeps to set your pace and keep your steps even.

ORIENTATION: For precise measurement data – and the best possible view into the subsurface – it’s important to check the orientation of the probe continuously. Hold the probe straight with a relaxed grip, always pointing in the same compass direction. This matters most when scanning in zigzag mode: at the end of a line, for example, keep walking backwards so the probe’s orientation doesn’t change. Otherwise, conspicuous stripes appear in the image that can mask a genuine signal.
It often pays to take a quick look at the results while you’re still in the field. If necessary, you can correct your measurement on site and run another control scan to verify possible finds in the visualization.
Step #4: Control Scans – Clarity Before You Dig
Before you start digging, a control scan confirms whether a signal really hides a find. To do this, repeat the measurement at the same spot – with the same start and end points and the same number of scan lines and measuring points. This lets you compare both results directly.
The rule of thumb behind it is simple: real objects don’t move. If the signal identified in the first scan appears at the same spot in the control scan, you’re looking at a real object. If, on the other hand, it shifts between the two scans, it’s usually natural ground mineralization – and not worth digging.
If you want to be extra certain, run another scan perpendicular to the original direction. Elongated objects in particular can be captured even more reliably this way. The effort of a second pass is small – compared to a hole with nothing at the bottom.

Find out which signals point to measurement errors, and much more, in our free Scan Analysis Guide.
Step #5: Evaluating the Measurement Data
After the scan comes the evaluation: review your scans in the included analysis software Visualizer 3D Studio, determine the exact position within your marked measurement field and read off the expected depth of the object. Experienced users can also draw conclusions about the size of the find from the signal strength of a detected anomaly.
Some devices, such as the eXp 7000 Professional Plus, feature a pinpointer mode. In this mode, you scan the identified area of your measurement field once more to determine the object’s exact location – with instant visual feedback when you’re standing directly above it.
Only now does the actual excavation begin. Proceed carefully and choose your tools to suit the soil type and suspected depth, so your find stays undamaged as you uncover it.
Treasure Hunting at a Professional Level
With Ground Scan, you can gain a comprehensive overview of unknown or extensive search areas, follow up on detected signals with control measurements and plan a targeted excavation based on data you’ve collected yourself. With a little practice, an OKM 3D ground scanner lets you produce clean measurement data – laying the foundation for your next big find.
Already have your next target in sight?
Five steps, one clear system – and yet every search project has its own particularities: soil type, target object, terrain. Our experts will be glad to advise you personally and recommend the detector that suits your project – free of charge and with no obligation.
support@gdidetection.com
+961 1 69 23 93
+961 3 54 16 77
Dekwaneh Al Midan Road
Lastra Building 4th Floor
Beirut
Lebanon

The Complete Guide to Professional Gold Prospecting
Learn which techniques, equipment, and strategies are essential for a successful gold hunt with a metal detector — and why ...

Scan Analyses, Hands-On Training & Sneak Peek at the OKM RoadShow in Sofia
Earlier this June, our experts hit the road – this time heading to Sofia, Bulgaria, for our OKM RoadShow. Together ...
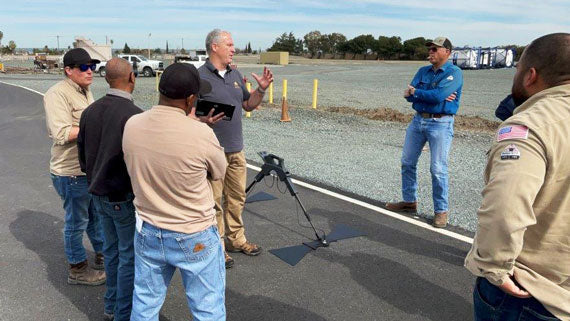
Field Training with OKM Americas: Gepard GPR in Action
In February 2025, OKM Americas visited a customer in Pittsburg, California, for a full-day training session. The goal was to show ...